
Those from the south of India would know what ‘bread upma’ is – it is a variation of a traditional dish made with bread. But it is typically bland, tastes far too strongly of turmeric and generally fails to impress. But this version is the answer to all those who wished for something more interesting. […]

yes, i know i haven’t posted anything in a while. can searing heat and smothering humidity be cited as a reason for not going near the kitchen? maybe the fact that i have been down with occasional bouts of flu/headache/stomach ache/etc. okay, truth is, i have been trying out some recipes, but they backfired. i […]
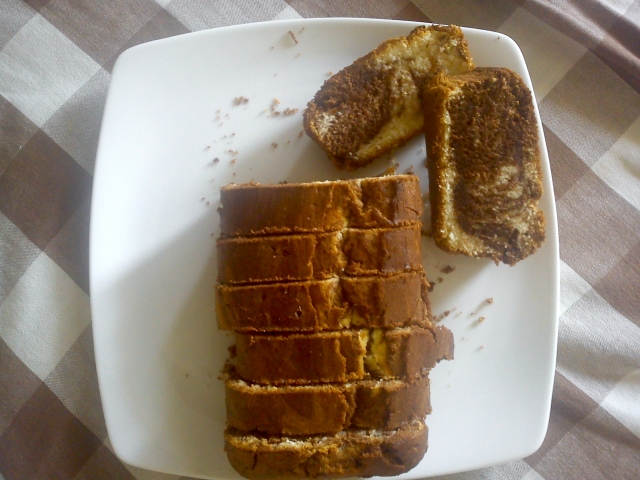
its been ages since i last baked anything and i have been trying to get back my touch. its not been easy – for one, i’m now living in Chennai (India), where finding good quality baking products is proving to be a challenge. i miss the days in Singapore when the NTUC/Cold Storage was just […]

are there times when you see something online, and you have to – just have to – try it out? well, there are many such recipes that i have been coming across, but i haven’t been able to do much. why? simply because i haven’t able to set up my oven in the place i […]
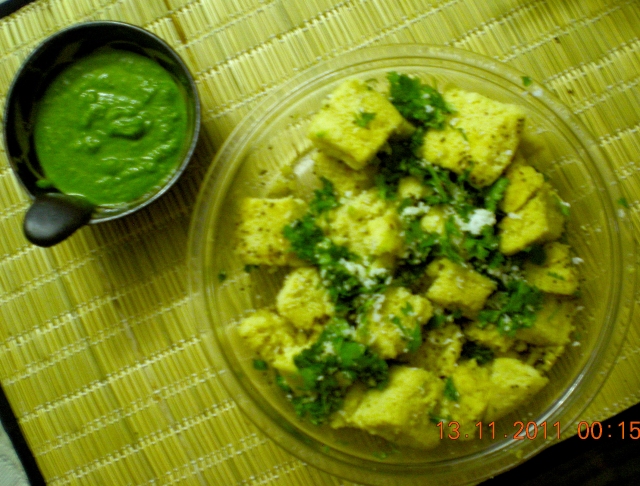
when i was thinking about what i should blog about after all these months, i kept thinking of sweet things – a cake maybe, or something to do with chocolate. but life has a way of changing your plans! 🙂 last night, i had dhoklas and green chutney for dinner, and when i saw the […]


